Using Vagrant with Chocolatey and Puppet to spin up virtual machines
In this article I would like to walk through my process in setting up a Vagrant ready Virtual Machine with a Windows guest, that I intend to use as a developer machine for my team.
First of all let’s have a look at what Vagrant is and what problems is intended to resolve.
Vagrant
Vagrant is a lightweight environment manager which can work with various Virtual Machine providers (VirtualBox, VMWare, etc.) to easily manage all your VMs.
It comes with a powerful and simple command line tool that can spin up, set up and provision VMs. It works with a variety of provisioning tools (puppet, chef, etc.) to setup the initial environment from a starting VM.
The common scenario is to have a small bank of ready bare VMs that you can download, initialise and provision on your machine. All the settings are enclosed in a VagrantFile, which is the heart of Vagrant. The same base VM, with a different VagrantFile, can start in a different configuration. The main purpose of this is to be able to quickly (and automatically when possible) spin up and control multiple virtual machine hosting test servers or staging servers, possibly in conjunction with some automated acceptance testing tools. Imagine your continuous integration server completing the build and automatically spinning up a server, deploy the result and launching a series of sanity checks, all automated…
Vagrant will always copy the base VM so you can always go back to the initial state if you want to reset your environment. It will also keep some folders in sync between the host and guest(s) so that changes can be propagated with ease.
You can read more on http://www.vagrantup.com.
Setup a Windows guest
Vagrant will need a bit of tweaking before working with Windows guest machines, but first and foremost we need a Windows VM to get started, so open up VirtualBox and create a Windows VM and install the OS:
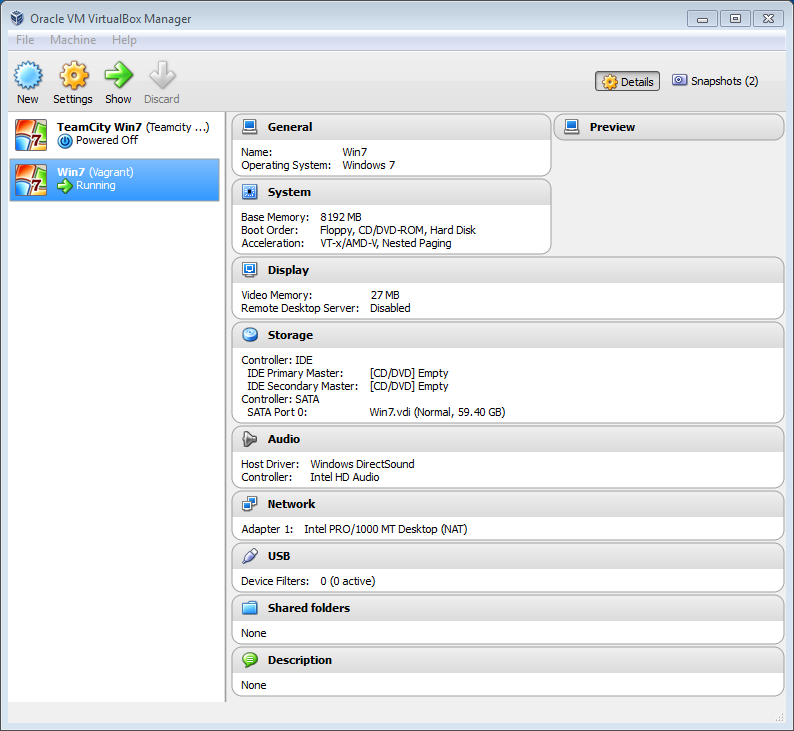
VirtualBox Manager
When you have your machine running, go in and create a Local admin user named “vagrant” with password “vagrant”. This is what Vagrant expects and uses when running configuration and provisioning commands on the VM.
The next step is to enable WinRM on the VM. This allows you to remote into your VM using the Windows Remote Shell, in case you don’t want to have a GUI for your VM.
On this link there is a easy to follow set of instructions; in my case, being a Win7 virtual machine, I only did the following:
- Turned off UAC for the “vagrant” user created above
- Enabled and configured WinRM
For the second bullet point, I just ran the commands showed below. Remember we are doing this in the VM, not on the host.
winrm quickconfig -q
winrm set winrm/config/winrs @{MaxMemoryPerShellMB="512"}
winrm set winrm/config @{MaxTimeoutms="1800000"}
winrm set winrm/config/service @{AllowUnencrypted="true"}
winrm set winrm/config/service/auth @{Basic="true"}
sc config WinRM start= auto
While you are setting up the machine, I also suggest you enable RDP on the guest by going through Control Panel => System and then Remote Settings. Also check that port 3389 is open in the Windows Firewall. You could potentially enable RDP with a powershell script later on during provisioning, but I prefer to do it at the setup stage.
Once done, you can shut down the virtual machine and prepare for packaging and boxing it. You can of course install other tools but I would suggest you leave everything as bare as possible so you have the maximum flexibility when it comes to provisioning.
Packaging the box
The guide on how to get the box ready is quite complete on the Vagrant website. First of all, on the host, download and install Vagrant from http://www.vagrantup.com/downloads.html.
Then you need to add the plugin for making it work with Windows guests:
vagrant plugin install vagrant-windows
You need this on all the hosts that will use this virtual machine as a base.
For the packaging specifics, all you need is few simple commands:
vagrant package --base <<vm-id>> --output C:\Vagrant\win7dev.box
The vm-id must match the name of the VM created in VirtualBox. Vagrant will pack the virtual machine in its actual state and create a “win7dev.box” file for you. Then you run:
vagrant box add <<boxname>> C:\Vagrant\win7dev.box
Here boxname can be anything you like. It will become the identifier of the base box in Vagrant.
Init and up
Now we are ready for starting it up. Go into an empty folder of your choice and run:
vagrant init <<boxname>>
Of course use the same boxname as before. This creates a VagrantFile, with some basic configuration. Before starting the VM, we need to change a few things in the VagrantFile. You are encouraged to read all the comments that Vagrant creates for you in the file, which highlight all the possible config options. In my case, this is the VagrantFile I ended up with:
# -*- mode: ruby -*-
# vi: set ft=ruby :

VAGRANTFILE_API_VERSION = "2"

Vagrant.configure(VAGRANTFILE_API_VERSION) do |config|
  config.vm.box = "Win7Dev2" # the name of the box, completed for you by vagrant init

  # set some defaults
  config.vm.guest = :windows
  # this will require a restart:
  config.vm.hostname = "#{ENV['USERNAME']}-Dev"

  # forward RDP and WINRS ports
  config.vm.network :forwarded_port, guest: 3389, host: 3377, id: "rdp", auto_correct: false
  config.vm.network :forwarded_port, guest: 5985, host: 5985, id: "winrm", auto_correct: true
  config.windows.set_work_network = true
  config.winrm.max_tries = 10

  # uncomment for a VM runnable from VBox straight away rather than remoting in
  #config.vm.provider "virtualbox" do |v|
  #  v.gui = true
  #end

  # sync the folders you want (generally the SVN root)
  config.vm.synced_folder "/Developments", "/developments"

  # for provisioning we need:
  # chocolatey:
  config.vm.provision :shell, path: "Install-Chocolatey.ps1"
  # ...in the path for all users:
  config.vm.provision :shell, inline: '[Environment]::SetEnvironmentVariable("Path", $env:Path + ";C:\Chocolatey\bin", "Machine")'
  # Puppet:
  config.vm.provision :shell, path: "Install-Puppet.ps1"

  # Enable remoting in, useless if you uncommented "v.gui = true" above
  config.vm.provision :shell, path: "Enable-RDP.ps1"

  config.vm.provision :puppet do |puppet|
    puppet.facter = {
      "hostuser" => ENV['USERNAME']
    }

    puppet.manifests_path = "manifests"
    puppet.module_path = "modules"
    puppet.manifest_file = "init.pp"
    puppet.options = "--verbose --debug"
  end

  # Restart the machine having changed the hostname:
  config.vm.provision :shell, inline: "Restart-Computer"
end
Save the file and run:
vagrant up
You will end up with a VM up and running that you can log in and use freely.
If you enabled the winrm config and decided to run a headless VM, you can shell into it using winrs. Alternatively you can use Remote Desktop pointing to localhost:3377 (you can see in the VagrantFile it is forwarded to the guest rdp port).
This is the content of Enable-RDP.ps1, the powershell scripts to enable RDP (if you didn’t enable it when creating the VM earlier):
(Get-WmiObject Win32_TerminalServiceSetting -Namespace root\cimv2\TerminalServices).SetAllowTsConnections(1,1)
(Get-WmiObject -Class "Win32_TSGeneralSetting" -Namespace root\cimv2\TerminalServices -Filter "TerminalName='RDP-tcp'").SetUserAuthenticationRequired(0)
Provisioning
The machine as it is is quite bare, which is a good starting point for all our changes. I will use puppet to provision my VM. First of all we need to make sure that puppet is installed on the guest machine; we may install it manually when preparing the machine or using this script from ferventcoder. Copy the script in the same folder where your VagrantFile is and call it in your VagrantFile:
config.vm.provision "shell", path: "Install-Puppet.ps1"
After that, you are ready to start your puppet provisioning the usual way:
config.vm.provision :puppet do |puppet|
  puppet.manifests_path = "manifests"
  puppet.module_path = "modules"
  puppet.manifest_file = "provision.pp"
  puppet.options = "--verbose --debug"
end
One important note: the provision.pp files goes into the manifest folder (this is relative to where the VagrantFile is). In the modules folder you have to put the chocolatey plugin for puppet: download it from here: https://forge.puppetlabs.com/rismoney/chocolatey, extract and place the folder, without the username and version (just “chocolatey”) into your modules folder. This allows you to use chocolatey as a package provider in puppet. Keep in mind that puppet can already install packages in MSI and EXE format: http://docs.puppetlabs.com/windows/writing.html#packagepackage, so you don’t strictly need chocolatey (although it adds support for more ensure => options).
The provision.pp file in my case is something like this:
Package {
  provider => chocolatey,
}

# ensure that my user is present and an Admin (maybe with a different pwd)
user { $hostuser : # look in VagrantFile, this is set to the user running the host; clever eh?
  ensure => "present",
  groups => ["Administrators"],
  password => "password"
}

# install notepad++
package { "notepadplusplus" :
  ensure => "latest"
}

# other packages
package { "fiddler4" :
  ensure => "latest"
}

package { "tortoisesvn" :
  ensure => "1.7.12" # this works!!
}

# ... other packages here...
Please note that you have all the usual puppet options here, for more information check this link: http://docs.puppetlabs.com/windows/writing.html
If your machine is still running, you can easily reload it and run the provisioning like this:
vagrant reload --provision
Remember to be in the same folder where the VagrantFile is everytime you run any vagrant command.
Distributing
So you have a VM which you can use freely. What about your colleagues? Of course they will need to install vagrant themselves along with the vagrant-windows plugin.
After that, you can simply distribute the VagrantFile along with the various powershell and puppet scripts (which of course they can modify at will based on their preferred tools). You also need to add this line in the VagrantFile:
config.vm.box_url = "http://domain.com/path/to/win7dev.box"
And point the url to a place where the box file is stored. This allows other people to skip the add and init steps and run directly vagrant up.
Hope this quick guide helps you easily setup a common and reusable environment for all your developing and testing needs.
Showing an SVG as image Entity Framework part 3: Testing the DbContext
3 thoughts on “Using Vagrant with Chocolatey and Puppet to spin up virtual machines”
Leave a Reply

Very useful. Please consider updating your steps to new vagrant. It offer windows support without plugins.(1.6.3+)
Thanks Jayan.
I was looking at the videos on https://www.vagrantup.com/blog/feature-preview-vagrant-1-6-windows.html and indeed it looks like a pretty amazing new feature.
I’ll try to post an updated article sometime in the future.
[…] a previous article we explored a convoluted way to allow Vagrant to manage windows guest […]